Volume lashes have become a go-to beauty solution for those seeking a fuller, more dramatic look. As a lash artist, mastering the art of volume lashes can elevate your craft and set you apart in a competitive industry. This guide offers a detailed, step-by-step walkthrough of the volume lashing process, from preparation to aftercare, ensuring your clients leave with stunning, long-lasting results.
Why Volume Lashes Are So Popular
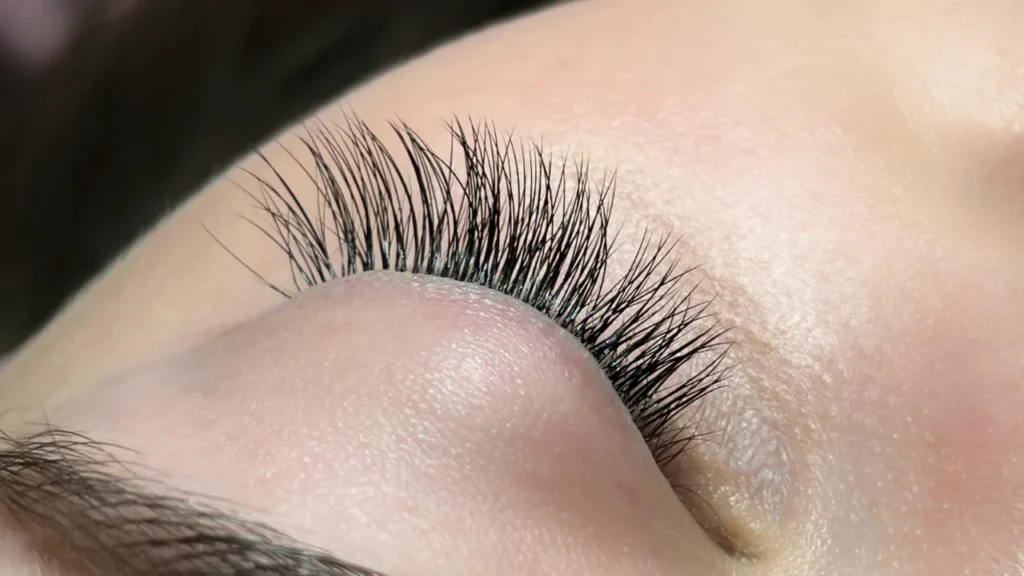
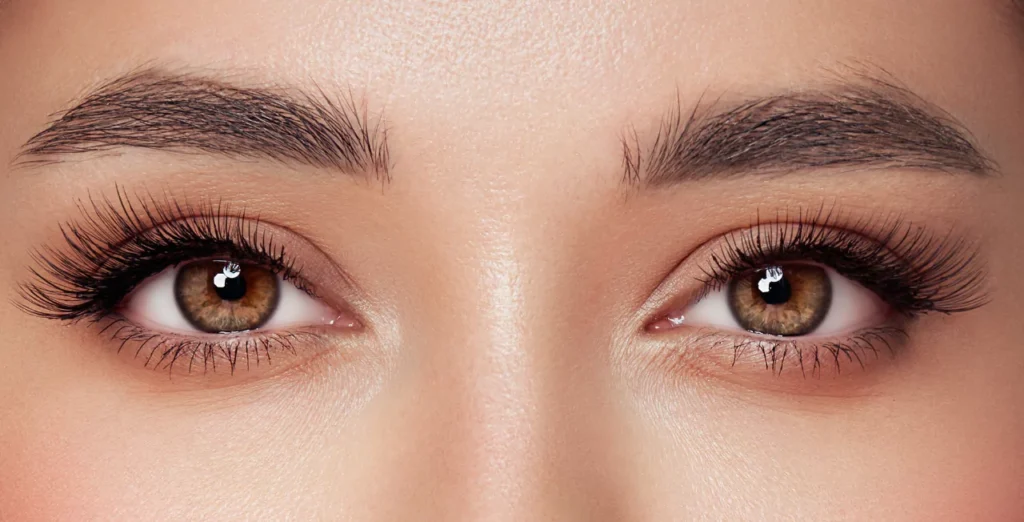
Volume lashes provide a versatile, customizable option for clients who desire enhanced lash fullness. Unlike classic lash extensions, volume lashes involve creating fans of multiple, lightweight extensions applied to a single natural lash. This technique delivers a fuller, fluffier appearance without compromising lash health when done correctly.
Key benefits of volume lashes include:
- Customizable Looks: Create anything from a natural enhancement to a bold, glamorous effect.
- Long-Lasting Results: With proper application and care, volume lashes can last several weeks.
- Boosted Confidence: Clients love the polished, dramatic effect of perfectly applied volume lashes.
Getting Started with Volume Lashes
1. Setting Up for Success
Before starting the application, ensure your workspace is clean, organized, and equipped with the right tools. A professional setup enhances your efficiency and creates a comfortable environment for your client.
Essential Tools for Volume Lashes:
- Volume tweezers and isolation tweezers.
- High-quality adhesive with a fast drying time.
- Foam tape for securing the lower lashes.
- Cleansing brushes and disposable sponges.
- Nano mister for curing the adhesive.
2. Hygiene First
Sanitization is crucial in any beauty service. Begin by washing your hands and disinfecting your tools. This step ensures the safety and comfort of your client and upholds professional standards.
Preparing the Natural Lashes
1. Cleanse Thoroughly
Proper lash cleansing is a non-negotiable first step. Use a gentle cleansing brush to remove any residue, such as makeup, mascara, or glue remnants. Follow up with a rinse using disposable sponges to ensure no debris remains.
Pro Tip: Cleaning the lashes daily is essential for maintaining lash health and maximizing retention.
2. Prime for Perfection
Apply a lash primer to each natural lash to improve adhesion and retention. This step ensures the adhesive bonds effectively with the lash extensions.
3. Securing the Lower Lashes
Instead of traditional gel pads, opt for foam tape to secure the lower lashes. Foam tape adheres securely to the skin, minimizing movement and discomfort during the application process.
The Volume Lashing Process
1. Selecting the Right Extensions
For volume lashes, lightweight extensions (0.07mm or thinner) are ideal. These extensions allow you to create fans of 3–6 lashes (or more) without overloading the natural lash.
Pro Tip: Avoid using heavy extensions on fine or weak natural lashes to prevent damage.
2. Adhesive Application
Shake the adhesive for 3–4 seconds before use to ensure consistency. Refresh the glue drop every 15 minutes to maintain optimal adhesion.
Safety Tip: Always wear a mask when working with adhesives, as the fumes can be strong.
3. Creating the Perfect Fan
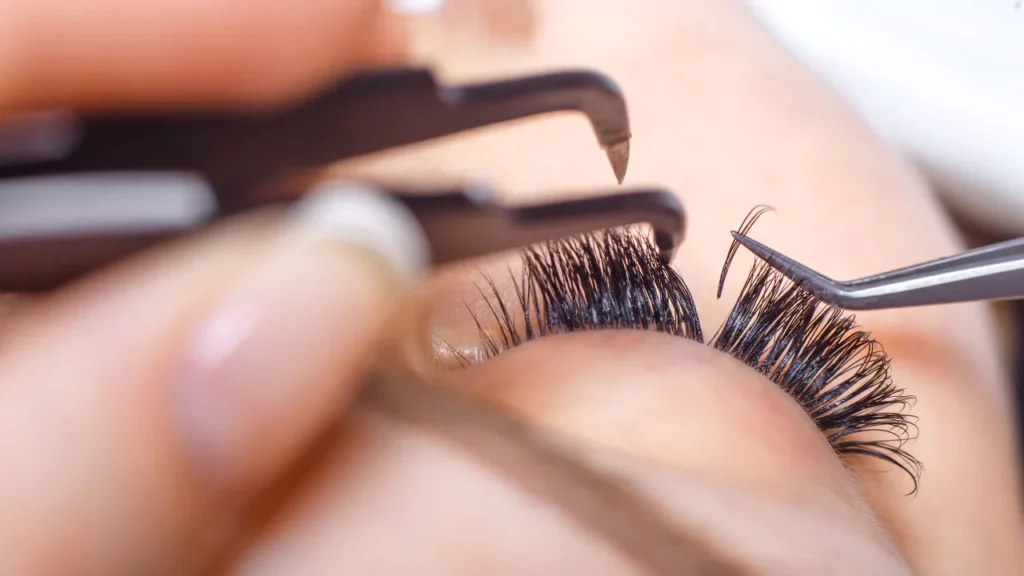
Volume lashing involves creating fans of multiple extensions and applying them to a single natural lash. Here’s a breakdown of the technique:
- Isolation: Use isolation tweezers to separate a single natural lash.
- Fan Creation: Create a fan of 3–6 extensions using volume tweezers.
- Application: Dip the base of the fan into the adhesive and apply it to the isolated natural lash.
Pro Tip: Always isolate the lash before creating the fan to ensure precise application.
4. Styling with Volume Lashes
Customize the look based on your client’s preferences and natural lash line. Popular styles include:
- Doll-Eye: Shorter lashes at the inner corners, gradually increasing in length toward the outer corners.
- Cat-Eye: Lashes gradually increase in length from the inner to the outer corners, creating a sultry effect.
- Natural Volume: A uniform length that enhances the client’s natural lashes subtly.
Finishing Touches
1. Inspect and Perfect
After completing the application, inspect the lashes for any stuck extensions or uneven fans. Carefully separate any lashes that are bonded together.
2. Final Drying
Use a nano mister to lightly mist the lashes, speeding up the adhesive curing process and reducing the risk of irritation.
3. Tape Removal
Remove the foam tape slowly and carefully to avoid discomfort for your client.
Aftercare for Volume Lashes
Educate your clients on proper aftercare to ensure their volume lashes stay beautiful for as long as possible.
Key Aftercare Tips:
- Daily Cleaning: Clean lashes with a gentle lash cleanser to remove oil and debris.
- Avoid Oil-Based Products: Oil can break down the adhesive, causing extensions to fall out prematurely.
- No Excessive Rubbing: Clients should avoid rubbing their eyes or pulling on their lashes.
Common Challenges in Volume Lashing
1. Adhesive Issues
Problem: The adhesive dries too quickly or too slowly.
Solution: Use an adhesive with a drying time suited to your skill level and work environment.
2. Fan Retention
Problem: Fans close during application.
Solution: Practice consistency in fan creation and use fresh adhesive for optimal bonding.
3. Natural Lash Overload
Problem: Extensions are too heavy for the natural lash.
Solution: Use lighter extensions and ensure fans are proportionate to the client’s natural lash strength.
Advanced Techniques for Volume Lashes
For experienced lash artists, mastering advanced techniques can enhance your services and attract more clients.
- Wispy Volume: Create a textured, spiked look by mixing fans of different lengths.
- Mega Volume: Use thinner extensions (0.03–0.05mm) to create fans of 6–10 lashes for a bold, dramatic effect.
- Hybrid Lashes: Combine classic and volume techniques for a versatile, eye-catching result.
Marketing Your Volume Lash Services
To stand out in the competitive beauty industry, effective marketing is crucial.
1. Build a Strong Online Presence
- Post before-and-after photos on Instagram and TikTok.
- Use hashtags like #VolumeLashes, #LashGoals, and #LashExtensions.
- Share behind-the-scenes videos of your lashing process.
2. Leverage Local SEO
- Optimize your Google My Business profile with photos, reviews, and services.
- Target keywords like “Volume Lashes Near Me” and “Best Lash Extensions in [City Name].”
- Create blog content highlighting your expertise in volume lashes.
3. Offer Client Incentives
- Provide discounts for referrals and first-time clients.
- Bundle services like lash lifts and tints with volume lash applications.
Why Choose Volume Lashes?
Volume lashes offer unparalleled versatility and beauty, making them a favorite among clients seeking a polished look. For lash artists, mastering this technique is an investment in your craft and business success.
By following the steps outlined in this guide, you can create flawless volume lashes that delight your clients and keep them coming back for more.
Ready to Master Volume Lashes?
At Limitlashes™, we provide comprehensive training programs for lash artists looking to elevate their skills. Join us to learn the art of volume lashes and grow your lash business today!
Get in touch with Limitlashes™
- Call Us: (781) 996-4048
- Email Us: [email protected]
- Send DM: Instagram
- YouTube Channel: Lash Tutorials
- Podcast: My Lash Journey
- Free Lash Class: Online Lash MasterClass
