Welcome to the ultimate Beginner Lash Extension Guide, crafted from expert-level training by certified lash artist and trainer Cosmina Esanu. If you’re just starting your lash artist journey, this guide will save you from rookie mistakes, set up your foundation right, and give you the confidence to work smart—not hard. Let’s get into it.
Why You Need a Beginner Lash Extension Guide
When you’re stepping into the lash industry, it’s easy to get overwhelmed. YouTube rabbit holes. TikTok hacks. Conflicting advice from other artists. What you need is one reliable, no-fluff beginner lash extension guide that walks you through:
- The essential tools and products.
- How to set up your workspace.
- Practicing on a mannequin vs. real clients.
- Muscle memory and hand positioning.
- Application steps from prep to final touches.
Step 1: Your Lash Mindset – Work Smart, Not Hard
When Cosmina started out, she didn’t have the strategies she teaches now. Her biggest lesson? Master the basics with intention.
- A clean, organized workspace reduces stress and boosts focus.
- Repetition builds muscle memory, so your hands and wrists get used to precise, repetitive movements.
- Don’t overcomplicate the process early on. Start simple. Start consistent.
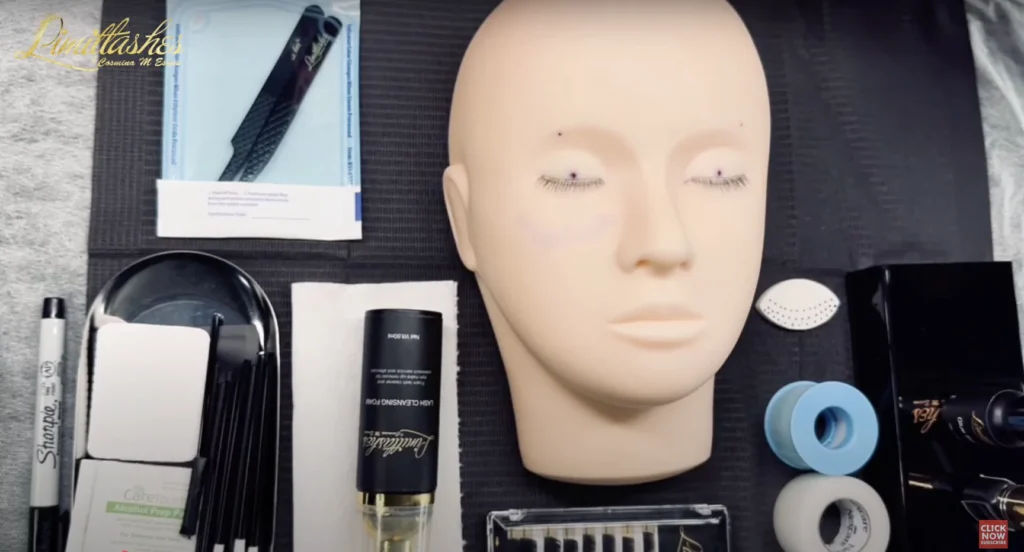
Step 2: Set Up Your Lash Workspace
Your workspace reflects your results. A clean, well-structured area helps you avoid mistakes and stay efficient.
What you need:
- Mannequin head or cosmetic sponge for practice.
- Foam cleanser designed for lash extensions.
- paper towels – soft, cotton-like texture.
- Mini fan for drying after cleansing.
- Gel pads for bottom lashes.
- Sensitive tape (regular + plastic).
- Alcohol pads to wipe sterilized tools.
- Brushes, micro swabs, and spoolies.
- Tweezers: one for isolation, one for pickup.
- Lash tray: organize all curl/length options.
- Lash mapping tools: Sharpie, mirror, and small scissors.
- Lash Glue and glue starter (for faster dry and better retention).
Tip: Place everything within arm’s reach. Efficiency starts with layout.
Step 3: Practice the Right Way as a Beginner
Every solid beginner lash extension guide should emphasize this: practicing on a mannequin isn’t optional—it’s mandatory.
- Real clients = pressure, unpredictable reactions.
- Mannequin = muscle memory, control, confidence.
- Sponge = great for mapping and lash layering.
Start slow. Your goal is not speed. Your goal is precision and placement.
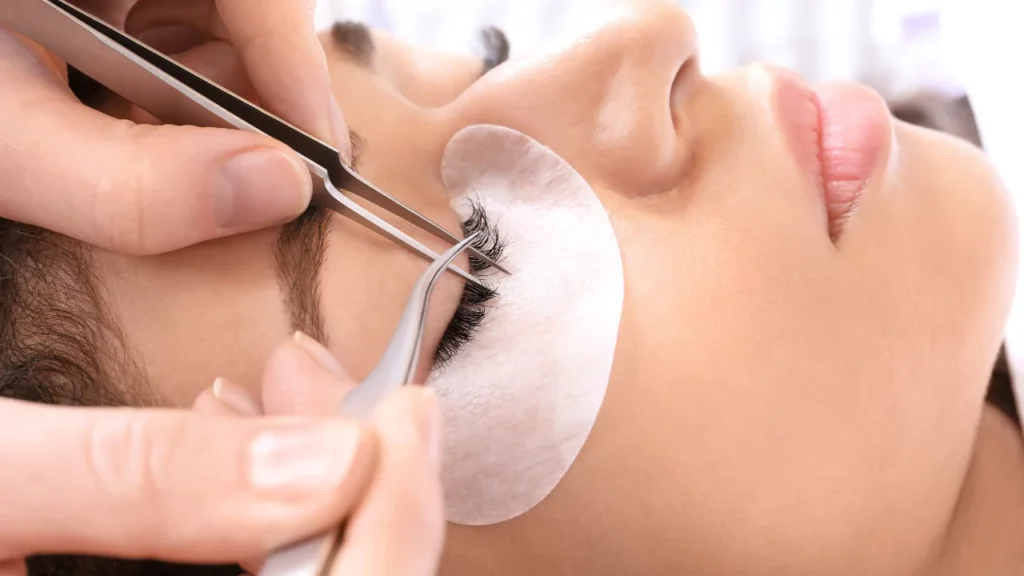
Step 4: Lash Application Breakdown (Step by Step)
Let’s walk through a full beginner-friendly lash extension setup and application.
1. Cleansing
- Shake your lash cleanser.
- One pump per eye.
- Gently scrub the base of the lashes (remove oils, dirt, makeup).
- Use soft paper towels to blot, then rinse with water.
- Dry with a mini fan and brush through to separate.
Cosmina doesn’t use primer – just deep cleanse. Why? Primer has alcohol. Clean lashes = better retention without irritation.
2. Under-Eye Prep
- Apply gel pads under both eyes.
- Make sure they don’t touch the waterline.
- Cut sensitive tape into small pieces.
- Use to lift the lid gently and expose lower lashes.
3. Lash Mapping
Grab your Sharpie. Choose a basic style like Open Eye:
- Mark the inner and outer corners.
- Split the lash line into even sections.
- Assign lengths (e.g., 8mm inner corner, 12mm center, 10mm outer).
Keep it simple. Don’t over-design. Your hands need to get used to the motion first.
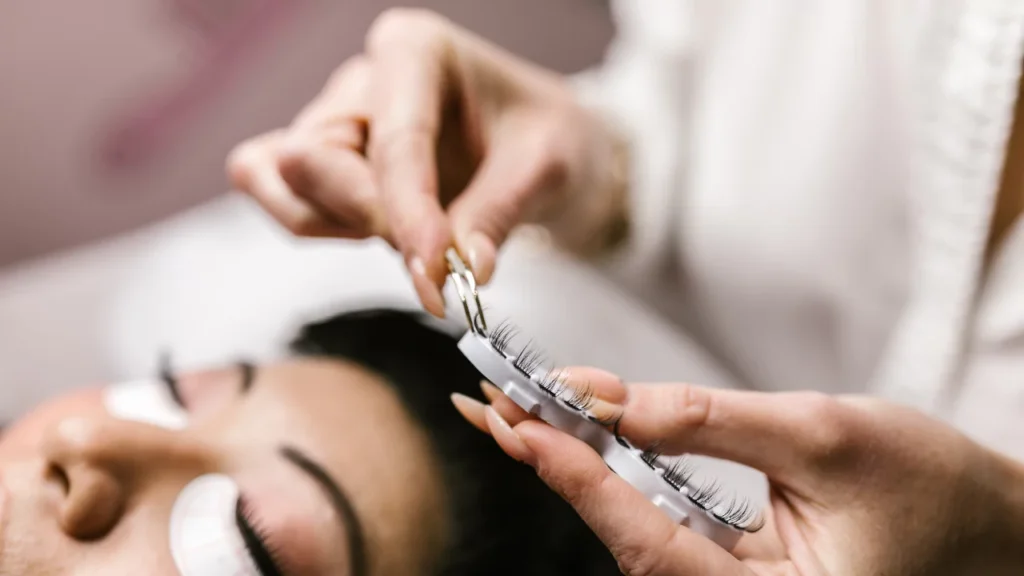
4. Tray Setup & Isolation
- Use a lash tray to organize lengths.
- Tweezer 1: Isolation.
- Tweezer 2: Lash pickup and dip.
- Use your mirror to check from underneath.
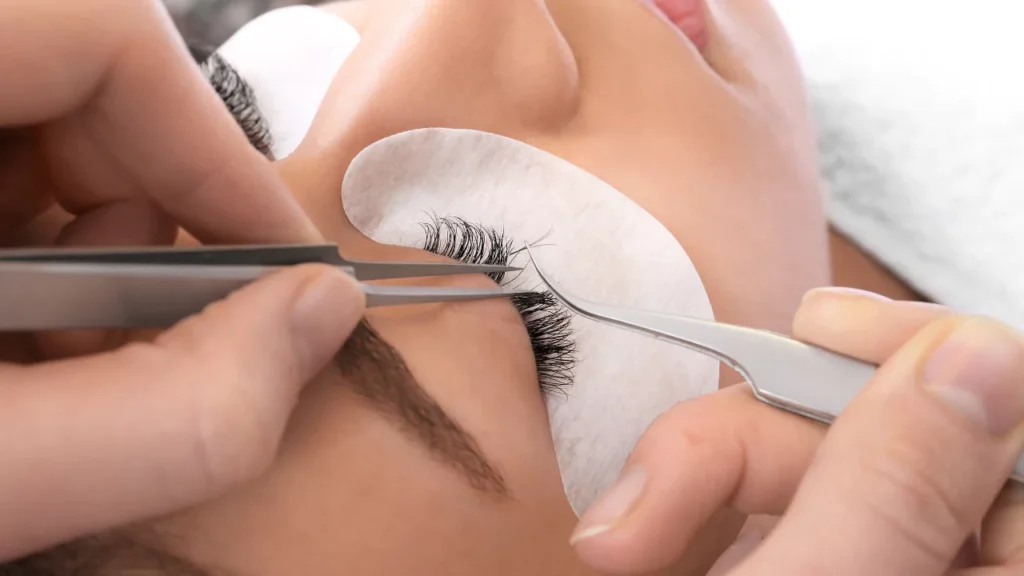
5. Glue & Application
- Use Limit Lashes Glue + glue starter for quicker bonding.
- Dip lash extension 1-2mm into glue.
- Isolate natural lash.
- Apply with no stickies.
- Fan dry and brush through.
Don’t rush the glue. Give it a few seconds to bond before moving to the next lash.
Step 5: Common Beginner Mistakes to Avoid
Any beginner lash extension guide that doesn’t talk about mistakes is doing you a disservice. Here are the big ones:
- Skipping the cleanse: leads to poor retention.
- Messy workspace: slows you down, makes mistakes more likely.
- Using primer on every client: not necessary. Clean is enough.
- Inconsistent lash mapping: don’t wing it.
- Not practicing enough on mannequins.
Step 6: Build Confidence With Repetition
Doing a full set once doesn’t make you ready.
Doing it 20 times does.
Cosmina emphasizes muscle memory. Back-and-forth repetition trains your hand to isolate quickly, dip precisely, and apply without hesitation.
Track your time, your speed, and your errors.
Step 7: When You’re Ready for Real Clients
You’ll feel it. The glue won’t stress you. Isolation becomes second nature.
Start with models:
- Offer free or discounted sets.
- Ask for feedback.
- Get photos.
Then move into paid clients. Your foundation is built, your skills practiced. That’s what this beginner lash extension guide is for.
Bonus: Join the Lash Pro Masterclass
Want to take it further? Cosmina created a free Lash Pro Masterclass to help beginner lash artists grow into professionals.
- Master classic, volume, and wispy styles.
- Learn how to attract clients.
- Understand how to price, package, and position your services.
Sign up at www.limitlashes.com/online-lash-masterclass/
Final Thoughts
This beginner lash extension guide was built off experience, not theory. Cosmina made the mistakes so you don’t have to. Now you’ve got:
- A clean, efficient workspace checklist.
- A detailed mannequin practice flow.
- Step-by-step application.
- A simple lash map.
- Tool and product breakdown.
- Real-world tips for smooth transitions into paying clients.
Use this. Print it. Practice with it. And when you’re ready to take the next step, the Limit Lashes Academy and the Lash Pro Masterclass are right there with you.
Get in touch with Limitlashes™
- Call Us: (781) 996-4048
- Email Us: cosmy@limitlashes.com
- Send DM: Instagram
- YouTube Channel: Lash Tutorials
- Podcast: My Lash Journey
- Free Lash Class: Online Lash MasterClass