If you’ve been scrolling through Instagram or TikTok lately, you’ve likely seen the bold, spiky, doll-like lash look taking over social media. This eye-catching trend is called anime lash extensions, and it’s quickly becoming one of the most requested lash styles in salons across the country.
In this blog post, we’ll walk you through everything you need to know to master this style—from the materials and mapping to pro application tips. Whether you’re a certified lash artist or currently enrolled in lash extensions classes, this is your go-to guide to create a perfect anime lash extension set.
What Are Anime Lash Extensions?
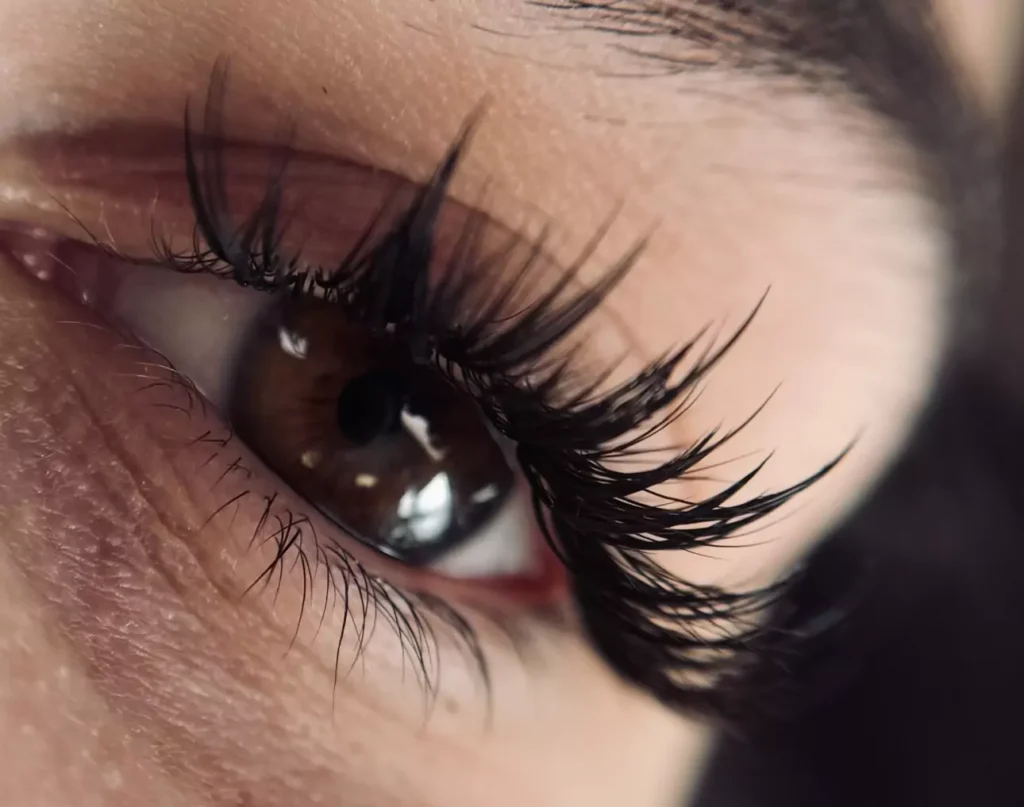
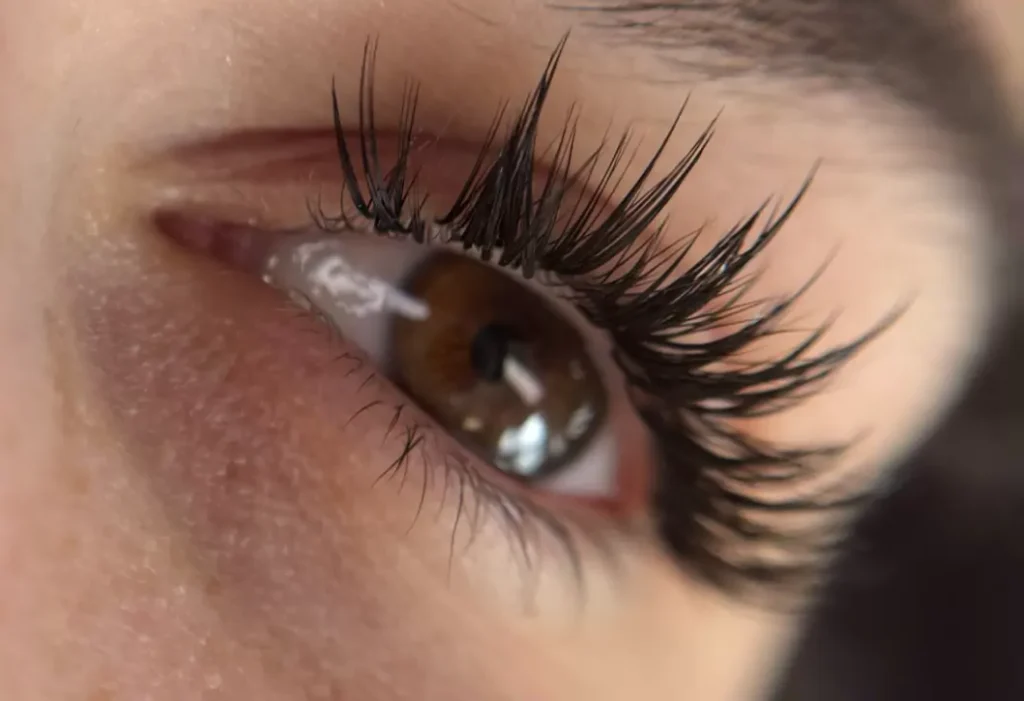
Anime lash extensions are a lash styling technique inspired by the exaggerated eye designs seen in anime characters. This look focuses on bold spikes, defined layers, and dramatic height, giving the eyes an open, doll-like effect.
Unlike traditional volume or hybrid sets, anime lash extensions focus on creating distinct, grouped spikes of lashes that vary in length to create a 3D texture across the lash line. This trend is ideal for clients who want to stand out and make their eyes pop.
Why Are Anime Lash Extensions So Popular?
This style is trending for a few key reasons:
- Customizable mapping: You can adjust the spike lengths and placement to suit any eye shape.
- Visual impact: The bold texture and lifted look make eyes appear bigger and brighter.
- Social media friendly: Anime lash extensions are visually striking and perfect for photo and video content, which has helped them go viral.
If you’re a lash artist or in the process of becoming a lash trainer, offering anime lash extensions can help you attract trend-forward clients who want something unique and fashion-forward.
Tools and Materials You Need to Create Anime Lash Extensions
Before you start applying anime lash extensions, here’s what you’ll need to have on hand:
- Lash extensions in various lengths (9mm–13mm recommended)
- 0.10 mm thickness (ideal for double classic application)
- Lash booster to help keep the spikes uniform
- Isolation tweezers
- Cosmetic sponge or mannequin head for practice
- Lash adhesive
- Gel pads and lash mapping pen
Using the right tools ensures clean application, strong retention, and consistency in spike design.
Step 1: Understand the Structure of Anime Lash Extensions
In a traditional lash set, you might work with individual lashes in a fan. But when it comes to anime lash extensions, you’re working with double classic spikes—meaning you pick two or three lashes at the same time to create one thicker, bolder lash unit.
The spikes are grouped intentionally to resemble “chunks” of lashes that taper toward the center, mimicking the dramatic linework seen in anime eyes.
Step 2: Choose Your Lash Lengths and Thickness
The typical lengths used for anime lash extensions range from 9mm to 13mm. For this specific tutorial, we recommend the following breakdown:
- Use 0.10 thickness lashes for a soft but dense look.
- Select lashes in lengths: 9mm, 10mm, 11mm, 12mm, and 13mm.
- Apply booster at both the base and the tips to ensure the lashes stick together in clean, cohesive spikes.
This thickness and length combo helps the lashes maintain their shape while offering the bold texture anime lashes are known for.
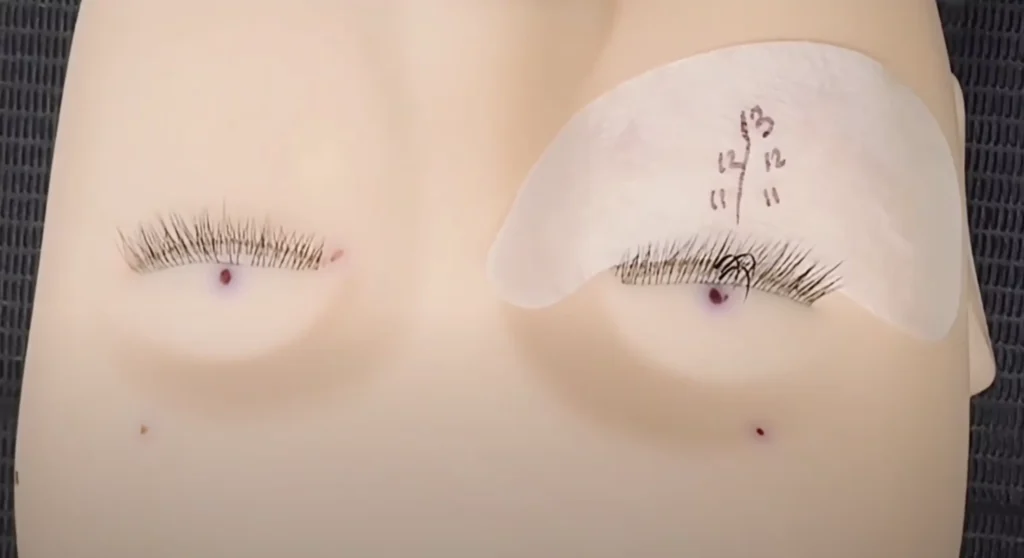
Step 3: Mapping for Anime Lash Extensions
Mapping is a crucial part of creating a stunning anime set. You want to plan your lash layout to include layers and spikes, with your highest lengths at the center or just off-center, depending on the desired eye effect.
Here’s a basic mapping layout to follow:
Top Layer Mapping (Doll Eye Effect)
- Center: 13mm (highest spike)
- Sides of Center: 12mm
- Next layers out: 11mm
- Corners: 9mm or 10mm
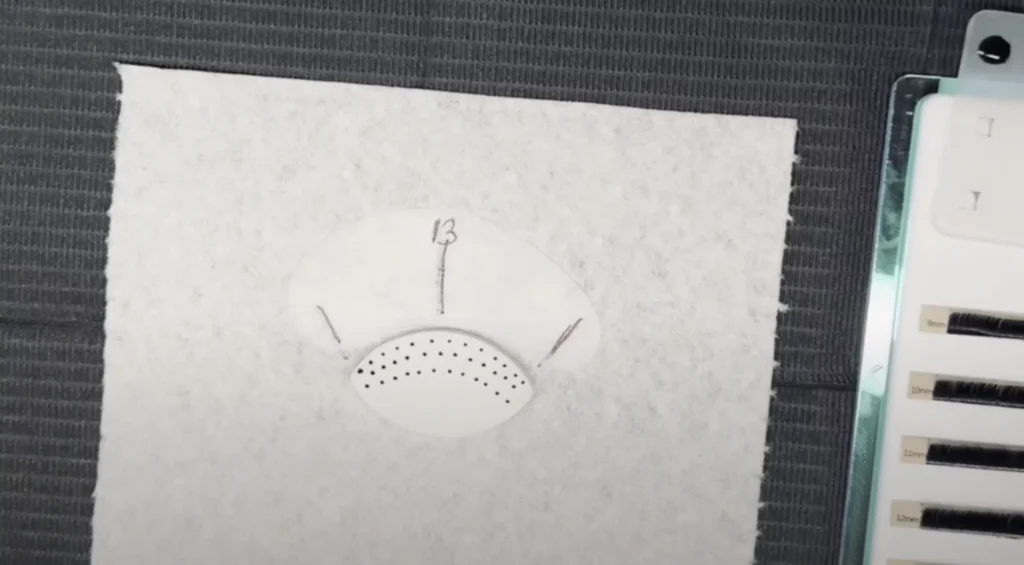
Step 4: Practice the Application on a Sponge
Before working on a live client, it’s highly recommended to practice your anime lash extensions application on a cosmetic sponge or mannequin. This will help you:
- Get used to working with grouped lashes.
- Practice your mapping layout.
- Perfect your spacing and spike angles.
Start by dividing the sponge into zones representing different lash layers (top, middle, bottom). Apply your spikes to the top layer, following the mapping discussed above.
Step 5: Transfer Your Mapping to the Mannequin
Once you’re confident with the sponge, move your lash map to a mannequin to mimic a live application.
Here’s how:
- Apply gel pads to mimic under-eye protection.
- Start with your longest spike (13mm) at the center or designated area.
- Work outward by applying 12mm and 11mm spikes on either side.
- Make sure each spike fans slightly outward to create the desired texture.
- Keep your spikes close together for maximum impact.
- Leave some spaces between each cluster to keep the look airy and bold.
Pro Tip: Not every lash needs to be filled. The key to anime lash extensions is allowing negative space between lash clusters to emphasize the spike effect.
Layering Tips for a Natural Lifted Look
Anime lash extensions look best when you account for natural lash layers. Most clients will have 2–3 layers of lashes. To optimize your results:
- Place your longest lashes on the top layer.
- Use medium lengths (10mm–11mm) for the middle layer.
- Shorter lashes (9mm–10mm) should be applied to the bottom layer or inner/outer corners.
This tiered structure gives your lash set a clean, textured appearance that mimics the sharp visual lines of anime eyes.
Anime Lash Extensions for Different Eye Shapes
One of the best things about anime lash extensions is their versatility. Here’s how to adapt your map for different eye shapes:
For Round Eyes:
- Focus the longest spikes at the center to enhance the natural roundness.
For Almond Eyes:
- Use a subtle cat-eye variation by placing the longest spikes just slightly off-center toward the outer eye.
For Hooded Eyes:
- Avoid overly long spikes near the inner corner. Focus length on the middle and outer third to open the eyes.
Common Mistakes to Avoid
While anime lash extensions are fun and visually dynamic, here are some common mistakes to avoid:
- Using uneven spikes: Your grouped lashes should be perfectly aligned for clean spikes.
- Overfilling the set: Leave negative space for a lighter, more defined look.
- Skipping the booster: Booster helps lashes stay tightly grouped and maintain structure.
By avoiding these errors, your anime lash extensions will maintain structure and have better retention.
Becoming a Lash Trainer for Anime Lash Extensions
If you’re already certified and want to elevate your career, becoming a lash trainer who teaches trending styles like anime lash extensions can be incredibly rewarding.
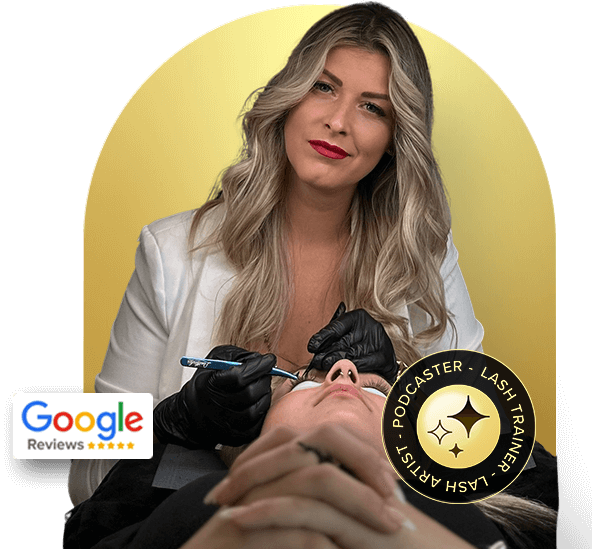
Cosmina, a certified lash artist and lash educator, demonstrates in her training how to master anime mapping using mannequins and real-life examples. If you’re ready to take your skills to the next level or are interested in becoming a lash trainer yourself, learning advanced techniques like these is a must.
Why Add Anime Lash Extensions to Your Lash Menu?
Adding anime lash extensions to your service offerings helps you:
- Stay ahead of lash trends
- Attract a younger, trend-savvy clientele
- Increase your average service price
- Position yourself as a specialist in custom lash styles
With the popularity of anime culture rising globally, clients are actively seeking this bold, dramatic lash option.
Final Thoughts
Anime lash extensions are more than just a trend—they’re a creative lash technique that combines precision, mapping, and styling to deliver dramatic, camera-ready results. Whether you’re a seasoned lash artist or just starting your journey through lash extensions classes, mastering the anime lash set can set you apart from the competition.
From choosing the right lash lengths and applying boosters to mapping on a sponge and transferring to a mannequin, every step is an opportunity to build your expertise and brand authority.
If you’re looking to get certified in trending techniques like anime lash extensions, or even become a lash trainer, Limitlashes™ offers private and group lash training programs that dive deep into styles like these.
Get in touch with Limitlashes™
- Call Us: (781) 996-4048
- Email Us: cosmy@limitlashes.com
- Send DM: Instagram
- YouTube Channel: Lash Tutorials
- Podcast: My Lash Journey
- Free Lash Class: Online Lash MasterClass