Whether you’re new to eyelash extensions or a seasoned lash lover, understanding the lash extension refill process is essential for maintaining that fresh, voluminous look. A lash extension refill not only keeps your lashes looking their best but also supports lash health and retention over time. In this post, we’ll break down everything you need to know about the lash extension refill process—step by step—using a real-life example straight from a lash artist’s chair.
What Is a Lash Extension Refill?
A lash extension refill is a follow-up appointment where grown-out or fallen lash extensions are replaced. Instead of reapplying a full set, a refill involves carefully removing outgrown lashes and adding new extensions to the empty spots. This ensures your lashes continue to look full and fresh without damaging your natural lashes.
When Should You Get a Lash Extension Refill?
Typically, a lash extension refill is scheduled every 2 to 3 weeks. However, factors like your lash growth cycle, retention, and daily habits can influence this schedule. In our case study, the client returned for a lash extension refill about three to four weeks after her initial set. This timing was perfect to assess retention and make style adjustments based on her feedback.
Step 1: Pre-Consultation for Lash Extension Refill
Before the refill even begins, a pre-consultation is key. During this appointment, the lash artist evaluates:
- Eye shape and natural lash health
- Retention from the previous set
- Client’s feedback on style and comfort
“We started very light because it was her first time,” explains the lash artist. “That way, we could monitor how the lashes held up and whether she liked the look.”
By starting with a combination of classic and double classic lashes, the client was able to ease into the lash lifestyle. At the lash extension refill appointment, she shared positive feedback and was open to a slightly longer length for a more defined look.
Step 2: Lash Growth Cycle Awareness
The timing of your lash extension refill may also depend on the natural lash growth cycle. Our lash artist noted that April and May are heavy shedding seasons due to seasonal transitions.
“The body has to adapt to the new temperature, and people might lose more lashes than usual.”
This natural cycle can affect how full your lashes look and why consistent lash extension refill appointments are crucial for keeping them looking lush.
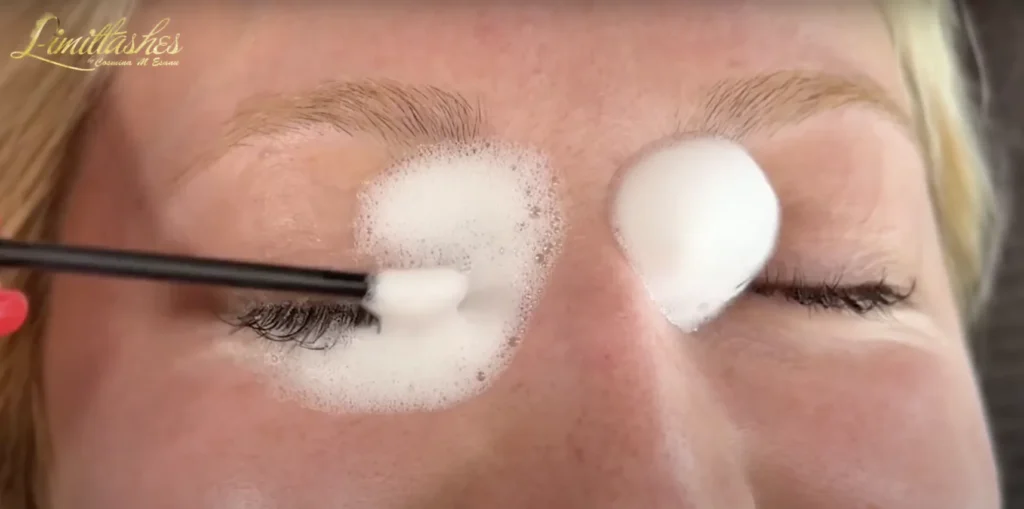
Step 3: Cleaning and Prepping the Lashes
Before applying new extensions, the artist thoroughly cleans the client’s lashes. Even without visible makeup, cleansing is essential.
Why?
- Removes oils, dust, and debris
- Improves glue adhesion
- Prevents irritation and infections
Interestingly, this lash artist chooses not to use primer in most cases, citing that alcohol-based primers can damage the natural lash. Instead, she opts for:
- Gentle lash cleanser
- Soft paper towels for rinsing
- Careful brushing of natural lashes
Only when dealing with excessively oily skin does she reach for the primer—an important distinction that experienced lash techs will appreciate.
Step 4: Isolating and Taping
The next step in the lash extension refill is isolation. Using gel pads and sensitive tape, the lash artist ensures that:
- Lower lashes are protected
- The client’s waterline isn’t disturbed
- The lash artist has full visibility and control
This process includes lifting and taping the eyelids gently and applying next care tape on the towel instead of skin to keep things hygienic and professional.
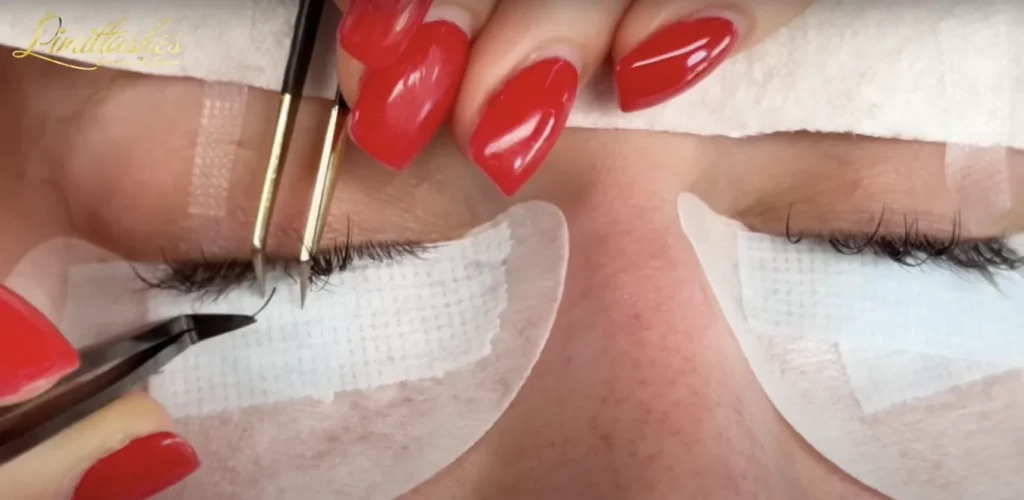
Step 5: Lash Extension Removal
Refilling isn’t just about adding new lashes—removal plays a critical role too. Outgrown lashes must be removed to prevent twisting, tangling, or damage.
Techniques used include:
- Holding the natural lash and peeling off the extension
- Wiggle method: gently shaking the base to detach
- Isolating each lash to prevent pulling or stress on the follicle
“You don’t want to damage the natural lash. That’s why I peel slowly, one by one.”
This level of care is what separates professional lash extension refill services from rushed jobs that compromise lash health.
Step 6: Choosing the Right Lash Map for Refill
After cleansing and removal, it’s time to plan the new set. For this lash extension refill, the artist used:
- 0.10 lash diameter
- Mixed lengths: 9mm to 13mm for a wispy, open-eye effect
- Spikes with longer lengths at the center
- Shorter lashes on inner and outer corners
This thoughtful design gives a natural yet enhanced look. The bottom layer featured shorter lashes (10, 9, 8mm) to add density at the base, ensuring a layered, textured result.

Step 7: Application of Lash Extensions
With the lash map ready, the refill application begins. The artist isolates each natural lash and applies the extensions using both tweezers for precision.
Tips for successful application:
- Work on both eyes simultaneously
- Avoid applying lashes on baby lashes or lashes about to shed
- Focus on strong, healthy lashes to maximize retention
- Start with spikes (longest lengths), then fill in with shorter ones
This strategic layering is essential in a quality lash extension refill and creates a balanced look with dimension.
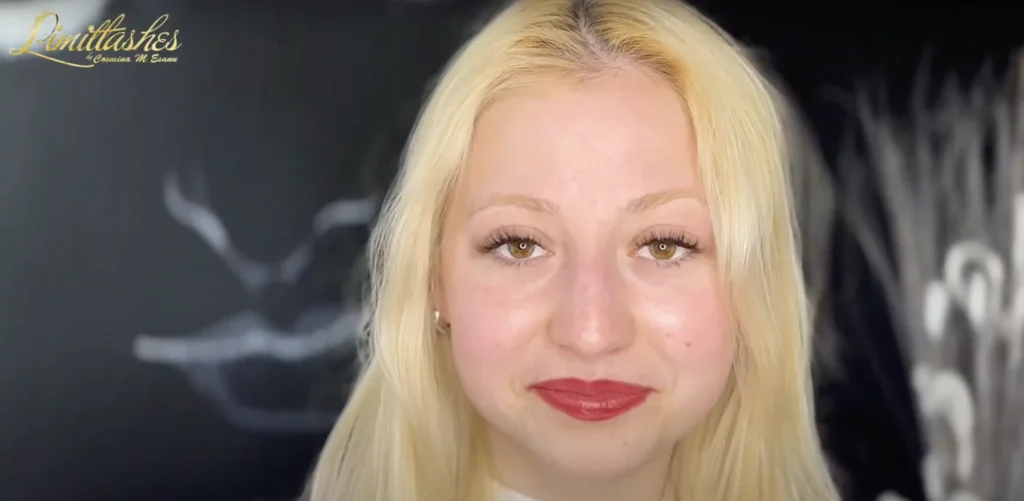
Step 8: Final Touches and Setting the Bond
Once the application is complete, the final steps include:
- Applying super bonder to cure the glue and reduce fumes
- Gently removing all tape and gel pads
- Fanning the lashes to set everything in place
The artist also makes sure to hold the skin while removing the tape to avoid discomfort. Then, each lash base is touched to help bond the glue better before giving the client a mirror to admire the result.

Why Lash Extension Refills Are Non-Negotiable
If you want to keep your lashes looking flawless, lash extension refill appointments are non-negotiable. Here’s why:
- They preserve your desired style
- Prevent damage from grown-out extensions
- Save time and money compared to full sets
- Help monitor lash health over time
Think of your lash extension refill like a tune-up for your lashes—it keeps everything looking fresh, polished, and professionally done.
Final Thoughts
A high-quality lash extension refill is more than just a top-up—it’s a chance to maintain lash health, customize your look, and build a long-term relationship with your lash artist. Whether you’re just starting your lash journey or you’re a loyal lash client, understanding the refill process empowers you to make informed decisions.
At Limitlashes™, this level of artistry and care is what we train aspiring lash artists to master. If you’re looking to perfect your refill techniques—or become a certified lash trainer—consider joining our training program.
Stay beautiful, stay bold, and don’t forget to book your next lash extension refill.
Get in touch with Limitlashes™
- Call Us: (781) 996-4048
- Email Us: cosmy@limitlashes.com
- Send DM: Instagram
- YouTube Channel: Lash Tutorials
- Podcast: My Lash Journey
- Free Lash Class: Online Lash MasterClass